Monday, April 30, 2012

CTMH "Friendship Bouquet" SOTM Blog Hop

 I can hardly believe another month has gone by and so quickly.  I been looking forward to this hop for what feels like forever.  This set is fabulous and a classic.  I know you've heard me say this before, but I LOVE FLOWERS!!!!  Every weekend after breakfast with my parents my husband and I stop at Walmart, Lowes or Home Depot and it never fails, I buy a beautiful potted flower every time and I always say to my husband "flowers make me happy, and when I'm happy everybody's happy!"

This month's featured stamp set is "Friendship Bouquet" S1205.  If you are coming here from Dawn Ross's Blog you're on the right path.....and if you get lost along the way go to Helen Onulak's Blog for a full list of hoppers.


Products used are CTMH unless otherwise noted......
  • Colonial White Die-Cut Cards Z1738
  • Goldrush Ink Z2123
  • Sunflower Ink Z2150
  • Topiary Ink Z2155
  • Garden Green Ink Z2120
  • Waterbrush 1771
  • Bronze Glitz Glitter Gel Z1483
  • Jet Black Archival Ink (Ranger)
  • Dotty For You paper packet CC1017
  • May SOTM "Friendship Bouquet" S1205
  • Sticky Notes for masking
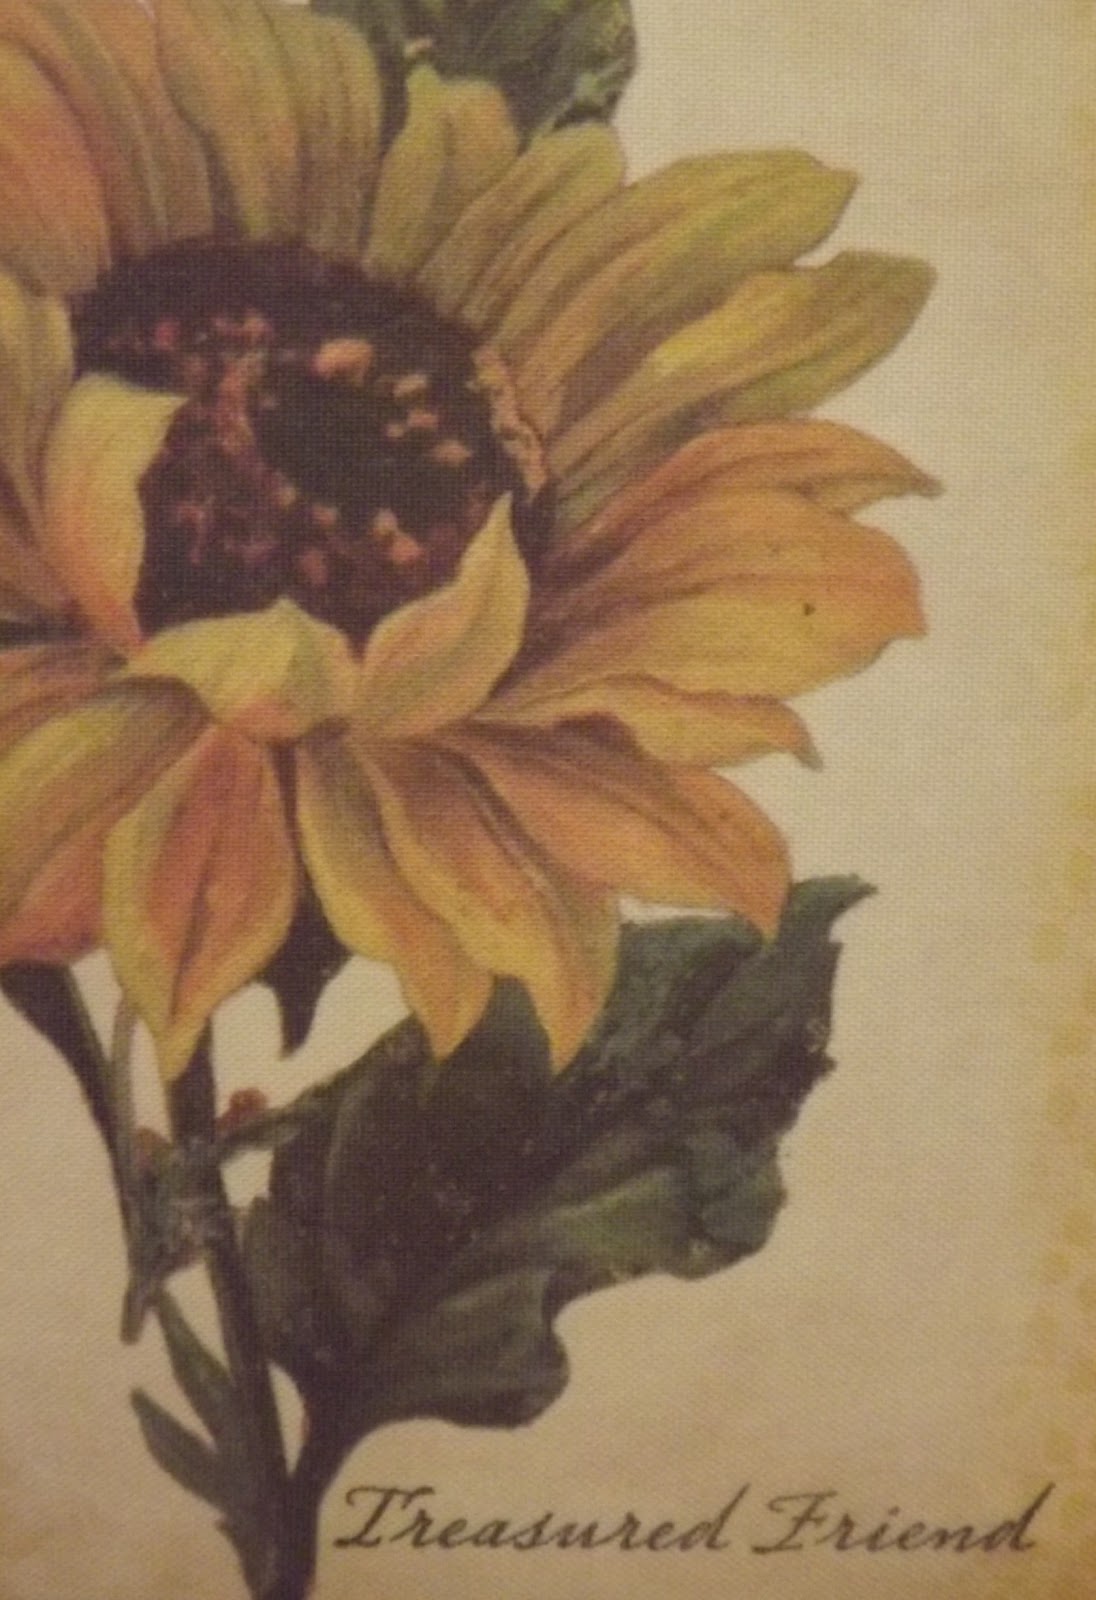
There is just something amazing about sunflowers and friendship, they go hand in hand in my book.  Here I found this wall calendar at Micheal's for $1.80 (on Sale).  I stamped the bottom left hand corner with "Treasured Friend" in Jet Black Archival Ink.  Next, I cut down the magnetic frames so they would fit just right around the month and day and covered them with B&T paper from "Dreamin' Level 2 Paper Packet" X7142B then adding Durables Studs Z1705 (the Square ones) to each corner. 

 Another great find at Micheal's was this awesome canvas notebook for a whopping $1.20 (on Sale)....and again I stamped it with "Treasured Friend" in the lower right hand corner.

Now "Hop" on over to LeAnne Dudley's Blog and see her work! 
Have a great May and thanks for stopping by.

Wednesday, April 25, 2012

Florentine Mother's Day Treat Box

Super quick post today, during my mental health break at work.  As promised here is the Mother's Day treat box using CTMH Florentine paper packet and the gardenia flower from yesterday's tutorial.

I found these really cute treat boxes at Target in the dollar section and they came 3 to a pack.  WOW, that's 33 cents per person at my up coming club for their altered project.  For a $1, the boxes are made of a high quality thick craft paper.  What a deal.  I'm sure the club gals will love this project.
Have a great day :)

Tuesday, April 24, 2012

Tutorial Tuesday

I can't believe its been a month already.  While talking with Tamytha this evening I was telling her how I made this really cute gardenia flower and I should break it down for the tutorial Tuesday post.  I found my inspiration from the gardenia tree in my back yard and that little wheel started turning, how could I make this flower with the CTMH AP cartridge?  First start with a sheet of colonial white cardstock and the cricut.  Select the snowflake2 setting at 2 inches and cut 4 images.

 Next, cut 2 of the snowflakes up to the center point between two petals, then cut away on petal of the snowflake from one and then cut away two petals from the last snowflake.


 Distress the tips of the petals lightly with cocoa or you can choose to use no color at all.  I used cocoa here, later in the post you can see what it looks like with no color.
 With the first two snowflakes where the image is cut up to the center point, use liquid glass on the left petal near the center cut then over lap the left and right petal until dry.
 This makes a five point flower.
 Repeat with the remaining flower bases.
 With the two petals you cut away from one of the snowflakes roll the petals for the center of the flower.
 Repeat with the single petal shown here.
 Clips are good to hold the flower pieces while they dry.
 Insert the rolled pieces to fit one into the other.
 Cut the centers out of the three remaining flowers at the bases, make sure to make good size holes to slide the center piece into.
 Before assembly, curl the petals of all the flowers.
 This is what all the pieces should look like before you assemble.
 Begin layering the petals, starting by inserting the center rolled piece through the 3 petal piece, then through the 4 petal piece and so on.
 Completed flower shown here.
 Once complete, cut of the stem of the flower so it lays flat on your project.
 
 How about this version when you dry emboss the cardstock.

I love, love, love FLOWERS.....Thanks for stopping by.  Check back tomorrow and see the project I came up with using this gardenia.  Remember "Life isn't flat, so why should your art be?"


Thursday, April 12, 2012

Lasso a Stamp Set Convention Contest Combo

 Just when I thought Close To My Heart could do no more for their consultants, they have offered another great giveaway.  Here's how it goes, create a one or two page layout utilizing this amazing post card they sent out to get you super excited about Convention in Dallas this July and you could WIN a FREE stamp set of your choice from the upcoming Fall/Winter 2012 Idea Book.
Now, when this post card came in the mail I fell in love with the color combination and then this month's Consultant Campaign "Dotty For You" came along.  This packet of 24 sheets of fabulous papers starts April 17 through May 31st, and with every purchase of $35.00 you can get this paper packet for just $5!  Shop with me and get yours starting April1 17th.
 With this layout I've used the post card from CTMH; Dotty For You (CC1017) paper packet; and April 2012 SOTM "You Are" (S1204), what a great combo to feature for April.
 Let me know what you think, comments are greatly appreciated.....Is this layout FREE stamp set worthy?
Thanks for stopping by.


Tuesday, April 10, 2012

Sometimes you just want to get a little fancy.

 With the dining room table setting that is.  I really didn't get much time in my craft room this weekend, although it was a long 4 day weekend for me, too much going on.  I really wanted to share with you pictures of the dining room setting for the family dinner on Sunday.
 First came the trusty step stool, then hauling all those antique dishes from the top shelf above the refrigerator, and of course don't forget washing them and shining up the stemware and silverware, that's a job all its own.
 Then came the cake......yummy.....I had never had an orange flavored cake, it sounded so wonderful and the picture on box was pretty enticing with that creamy cream cheese icing.....I found this really cool cake plate a few years ago, put ribbon around it and topped the cake with a handmade chocolate swirled bunny.....when I took the picture, it looked like an Easter hat, how cute?  And don't forget the flowers....while at Micheal's on Saturday morning they had all their Easter stuff marked down, bought 6 of these really cute spring themed eggs and stuck them in the arrangement.
 Then I made little bowls of Easter goodies for my guests and I even died eggs, I think its been over 20 years since I've died an egg, had to have a friend of mine who has a little one come down and help.....I had no dye or anything to work with.
 Then setting the table, all before cooking the delicious meal we had.
I should of put a warning label on the bunnies, as my father-in-law bit into the ribbon I tied around the necks.

Hope you and your family had a great weekend.  My husband wanted to go to the beach and after dinner he said next year he was going to the beach, in HAWAII......better start making reservations now, before he changes his mind.

Tuesday, April 3, 2012

Curious Little Bunny

I fell in love with this little bunny stamp I found at Scrappy Boutique in Orlando a few months ago, and I could hardly wait to find some time to use it.
How cute is this bunny, and it's even better with glitter.
The flourish was done with the AP Cricut cartridge by CTMH and then embellished with liquid applique.

Monday, April 2, 2012

Taking on your Creative MOJO

 Ever been in a store and see something that inspires you?  That happened to me tonight.  While at Publix picking up some groceries, something I hate to do, grocery shopping....but something good came out of it.  Take a look at this Godiva Chocolate truffle container for Easter, its shaped like an egg and its clear....hum, the brain starts working in overdrive.
 Here is the container with all the truffles out of it, now, just to let you know my hubby came in my craft room and wanted to know what I was doing, so I started to explain and all of a sudden, he focused on the candy and not so much on my project.....what's up with that, but he was happy, chocolate makes him happy.  I guess men are a bit like women when it comes to that.....


 Final project here, kinda hard to get pictures with a glare due to the plastic, check out all the pics below from different areas of my home and angles.
 
 This is a view from my kitchen counter.  I plan on using this as a center piece to my Easter Dinner on Sunday.


 Happy Easter....check back tomorrow for another Easter project.