Tuesday, April 30, 2013

May Constant Compaign "Dream Pop"


Dream Pop 
May 2013 National Scrapbooking Month Constant Campaign

Get the exclusive paper packet for only $10 when you spend $35!  In honor of National Scrapbooking Month, you can get the yummy Dream Pop paper packet for only $10 when you spend $35 in May (valued at $19.95 retail)!

This exclusive paper packet includes 12 cardstock sheets as well as 12 B&T Duos® papers that were specifically designed for this promotion only—you can’t get these sweet colors and patterns anywhere else!  Start National Scrapbooking Month off right with a unique paper packet at a bargain price and get your creative juices flowing!  Also, consider hosting this month: Hostesses receive one paper packet free with qualifying May Gathering sales totals of $400 or more.

*Shipping/handling and tax apply. Not available for purchase at full retail. Offer valid May 1–31, 2013, while supplies last. Qualifying purchases must be current, retail-priced product.
Dates: Offer valid May 1–31, 2013.


Saturday, April 27, 2013

Frosted Designs' Design Team Challenge: Doilies & Sketch

 This week's challenge is all about doilies + sketch at Frosted Designs!
 Here is the sketch we had to use for our project...ok....I've been paper crafting for 4 years now and I've never used a sketch...why you ask?  Well I think I was a bit intimidated....not knowing if I could create something and follow along, I like to do my own thing...no boundaries :)  and I know you've heard me say this before, but I don't scrapbook...so this sketch had me at "What can I do with this?" The cover for a mini album....that would work and so it began.
 All products used are Close To My Heart with the exception of the chipboard mini album ($1 at Michael's!) and the binding rings (I think that's what you call them, first time binding an album too!). Product list will be shown at the end of this post :)
 The paper used is Chantilly....I can''t get enough of this paper...I love all the bright cheerful colors. The flowers were cut using the Cricut Art Philosophy cartridge.
 The doilies (actually a stamp set) are stamped with white daisy pigment ink, covered with white embossing powder and heat set.  Then you're ready to cut and glue them on top of the album cover.
 First set of pages.
 This flower is so cute and how amazing is this coordinating fabric badge button?
  Second set of pages.
 This part flips up for journaling and a pocket is at the top for more of that too.
 Third set of pages.
 Fourth set of pages.
 I made this book pretty simple...so I can go back and add more later.  Not knowing who I'll give this to, I'll wait to add more embellishments and stuff.  Although all the final touches haven't been added, it's pretty darn cute, if you ask me :)


Products used are all CTMH:
Black Ink (Z2105)
Buttercup Ink (Z2110)
Twilight Ink (Z2160)
Hollyhock Ink (Z2128)
White Daisy Pigment Ink (Z2163)
Chantilly Paper Packet (X7163B)
Chantilly Complements Dimensional Elements (X7163C)
Pink Glitter Gems (Z1807)
Chantilly Assortment (Z1814)
Love Doily Stamp Set (B1418)
Keyboard Uppercase Stamp Set (B1416)
July 2013 SOTM Sweet Life Stamp Set (S1307)...coming soon in July 2013
Chantilly Textiles (Z1819)
Cricut Art Philosophy Cartridge (Z1686)
White Daisy Embossing Powder (Z673)

Have a great week and stay inky my friends!

Tuesday, April 23, 2013

Flower Power Frosted Designs Tutorial


 There's just something about flowers...and I can't get enough of them.
 
Using the Cricut Art Philosophy cartridge exclusive to Close To Me Heart you can create these flowers in about 10 minutes.
I'm so passionate about flowers, I like to incorporate them into everything I do and bringing them to life on paper.  I used 2 images from page 21 of the Cricut Art Philosophy book.  Cutting the Decorative Layer Flower (shift key is used for this image) out with Butter Cup cardstock at 2.5 inches and 1.5 inches. 
Next, using Pemberly paper packet (retired from CTMH), cut the "Layer" image (again using the shift key) with an assortment of the patterned paper at 2.5, 2.25 and 1.25 inches.
Then comes the dimension.....step one....emboss the cut pieces in your favorite embossing folder.
Having all these different textures on the flowers really makes your project pop.
and for even more dimension.....stamp the cut pieces with a background stamp with black or coca ink.  I used the word stamp from the set Universal Backgrounds (CTMH D1477)....awesome, but wait you're just getting started.
lovin' it!
and for more of an effect.......
emboss each flower piece with versa mark and clear embossing powder Z821.  On a clear block take the clear background stamp...flip it over so you can coat the back of the stamp in versa mark then stamping the flowers and covering them with clear embossing powder...heat accordingly.   It works great! 
Can you see that shine....it also gives you the ability
to shape the petals better.
Now, I'm making 4 flowers so you would only need one of each size to make one flower.

Isn't this amazing how the clear emboss brings the color to life on the paper?
Now you're ready to curl the petals.....notice how I cut between each petal here?
Layer the pieces...starting with the largest petal on the bottom...as you assemble the flower add more dimension by curling each layer.
Fluff each flower when done........add some bling to the center...and
your flowers are complete....
Thanks for stopping by....and stay inky my friends :)

Saturday, April 13, 2013

Frosted Designs Fabulous Friday Challenge "Travel"

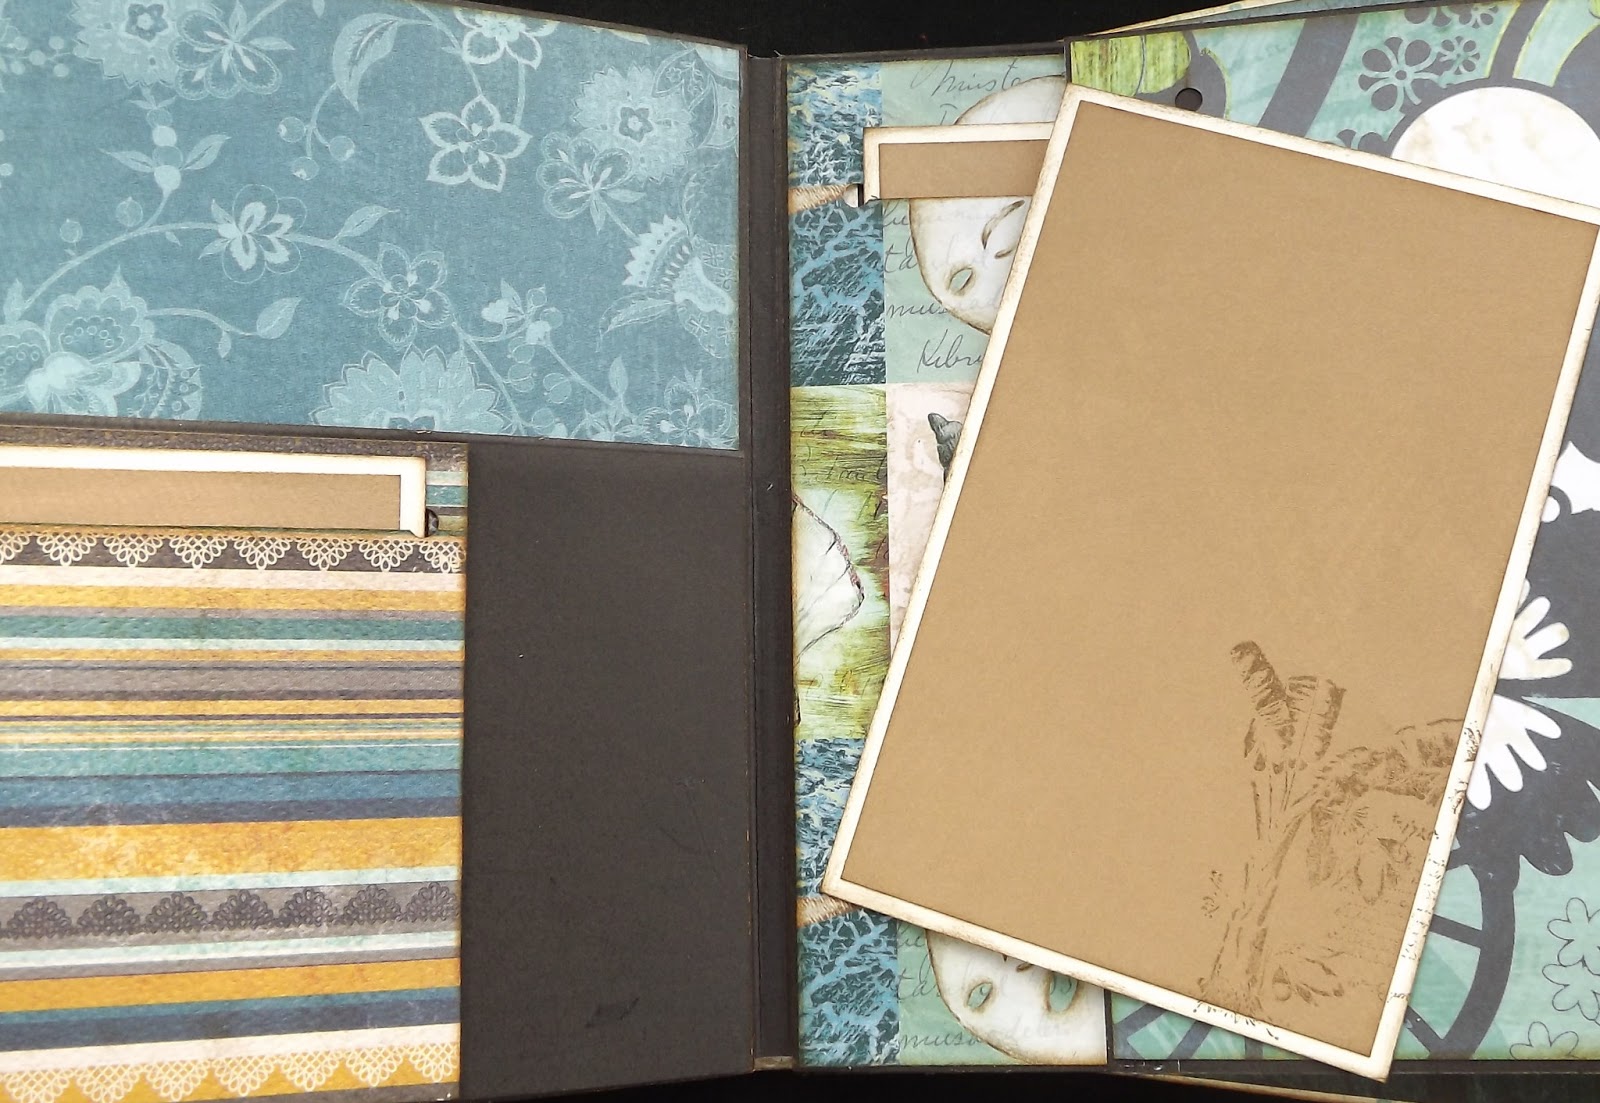
Beach Bag Mini Album

Hubby and I have enjoyed our trips to Hawaii with our friends Barbara and Al, so much that we just got back from another trip yesterday.....and before we left I made this mini album for Barbara for her pictures and collectables from this year's trip.
 A few months back I came across this fabulous website Paper Phenomenon and Kathy is the Queen of paper crafting if you ask me....kits are available for purchase on her site.  I wish I could share all the secrets to this project....but that's a no-no....check out Kathy's site for more details on how you can get your cutting guides.
 Each page is a flip page with layers and cuts for inserts too.....tags were cut to size for each page.
An assortment of papers were used from Creative Imaginations, Graphic 45 "Tropical Travelogue Collection" and bits and pieces from my collection
Cardstock for the insert tags are Close To My Heart Colonial White and Dessert Sand, inks used are Close To My Heart Cocoa, Dessert Sand, Outdoor Denim, and Twilight.
  Stamped images used are coordinating stamps from Graphic 45 "Tropical Travelogue Collection".

 One of my favorite parts to this album are the handles....they are made from an old belt I had hanging around.
 
Barbara loved this surprise hand delivered to her on vacation....now I need to make one for our trip :)
Thanks for stopping by and stay inky my friends!


Thursday, April 11, 2013

Being a Tourist

 Some times when I look back at vacation pictures...I wonder....was I even there?  Being the picture taker is fun....and then my hubby gets some pics of me being silly.  Ok, I pose for some but others I'm caught in the moment when I'm goofing off :)
View from the condo.
Toes in the sand.....love that feeling.
Watching the sunrise.
Finding a wonderful cafe on our drive.
China Town
 I love teddy bears....can you tell?
Aloha.